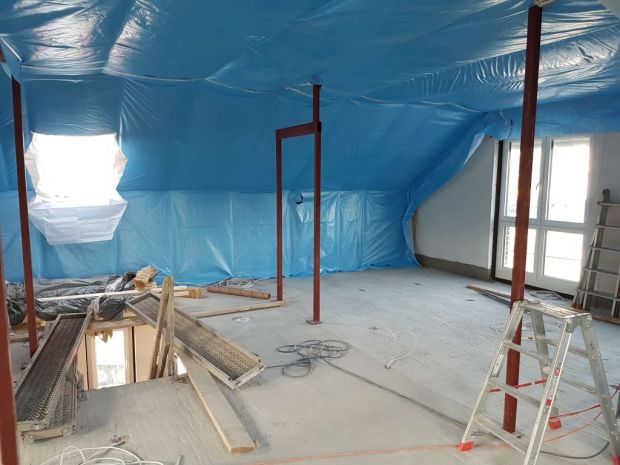
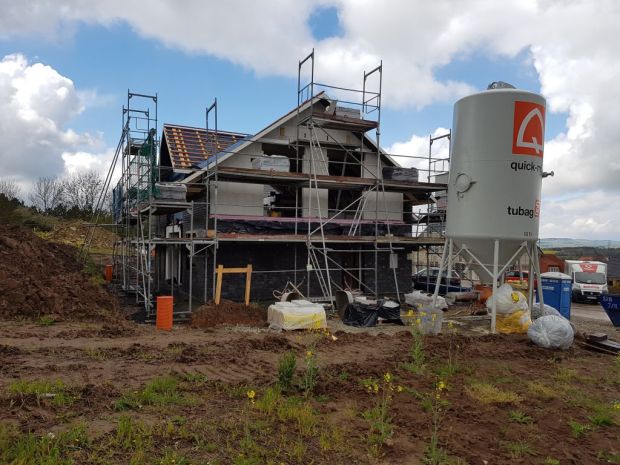
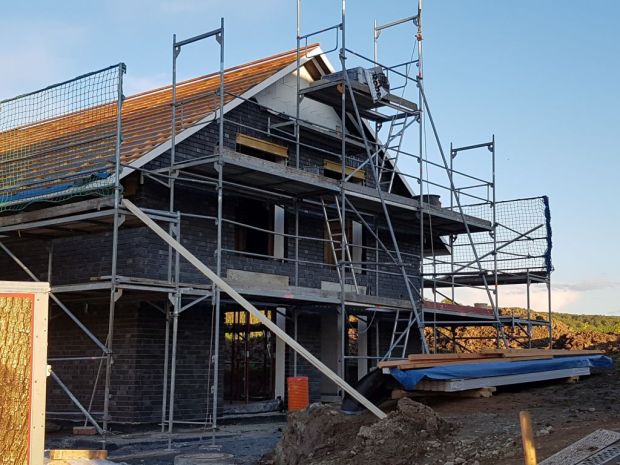
We saw since since week 1 how the house construction has progressed in a smooth and steady cadence. It sometimes makes me wonder if there’s ever going to be a crescendo, when always the works are in full-blast Anyway, the house interior is now taking shape, upstairs in particular. All electrical wirings were also fertig. So now to account for the works done this week:
Drywalling
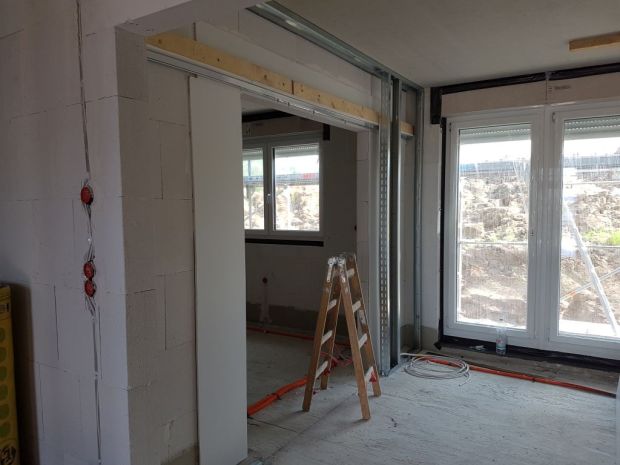
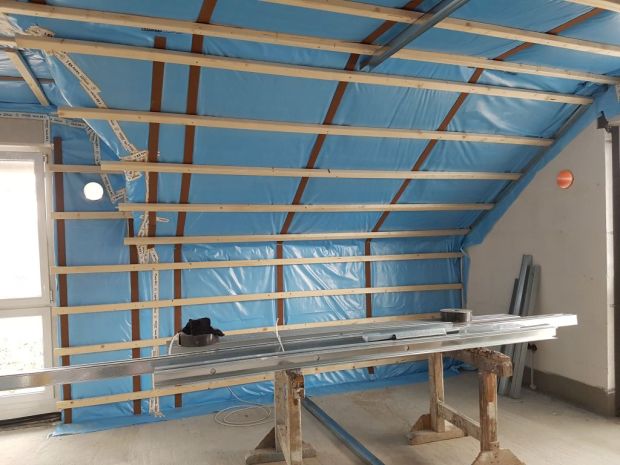
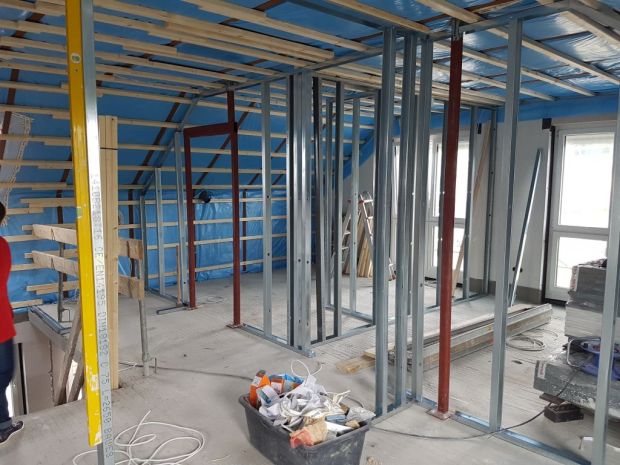
This is probably the major accomplishment this week. Last week, I already showed you the beginning of the metal framing for the rooms upstairs. So the Trockenbauer took a total of 7 days to finish all the upstairs insulation, room partitioning and drywalling. Let’s begin with the bathrooms 🙂
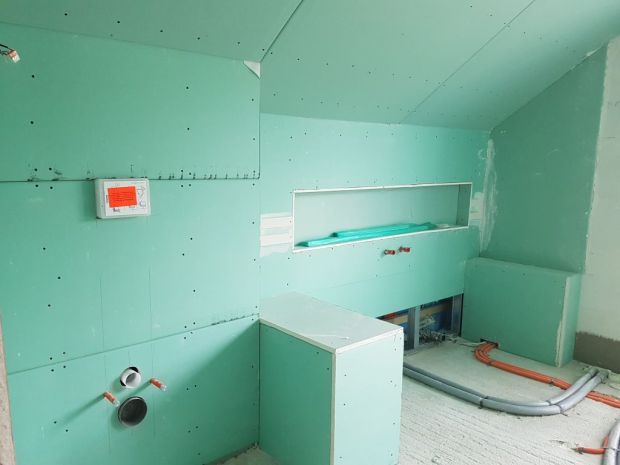
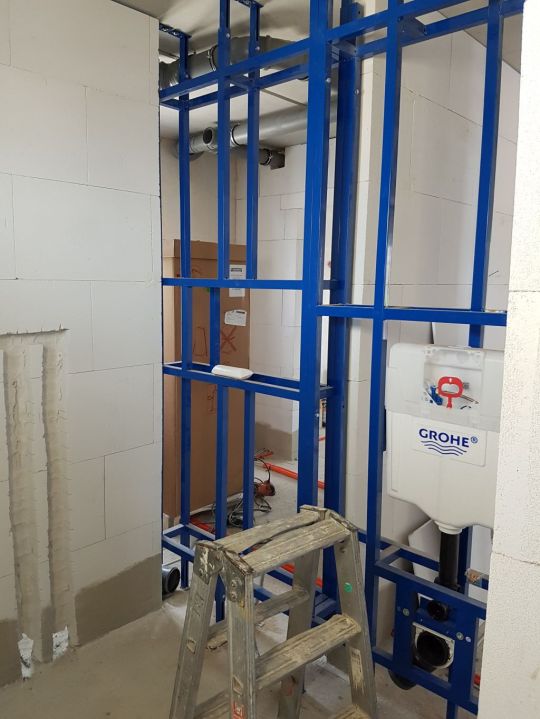
These are the bathrooms upstairs and downstairs. Before the drywalling, the wall-panel frames housing the toilet tanks had first been setup by the sanitary Installateurs. The toilets are wall-mounted so the water tanks would be walled-up together with the water pipes.
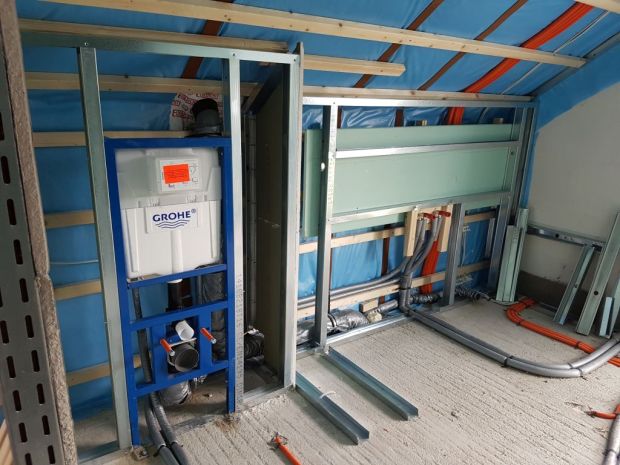
These are after they had been walled-up, now ready for sealing and tiling. They used a special sheetrock here intended for damp areas such as bathrooms. These boards are about 15 mm thick and are supposed to be impregnable. The niches on the walls had also already been framed. Now I understand why it cost extra to have these niches, because they did require more fiddly work, which I suppose would be the same for the tilers later on.

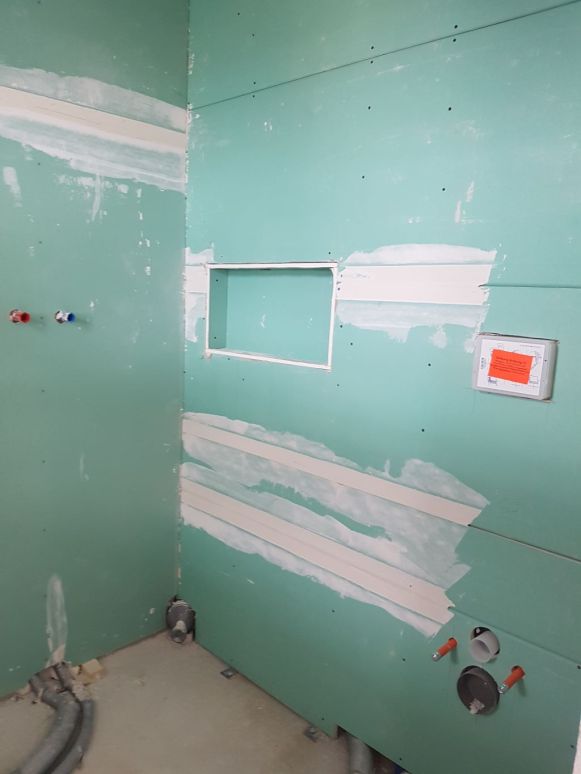
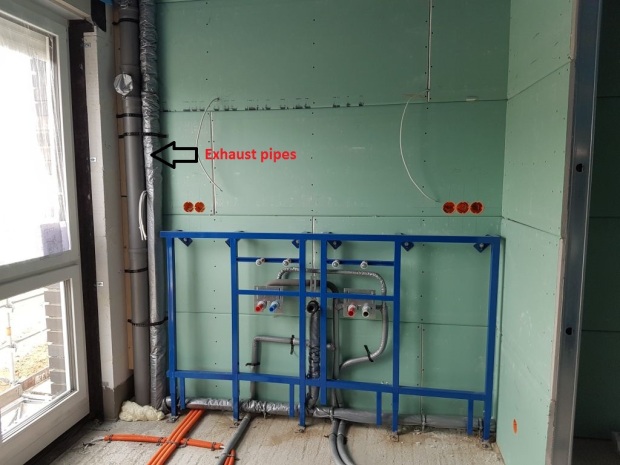
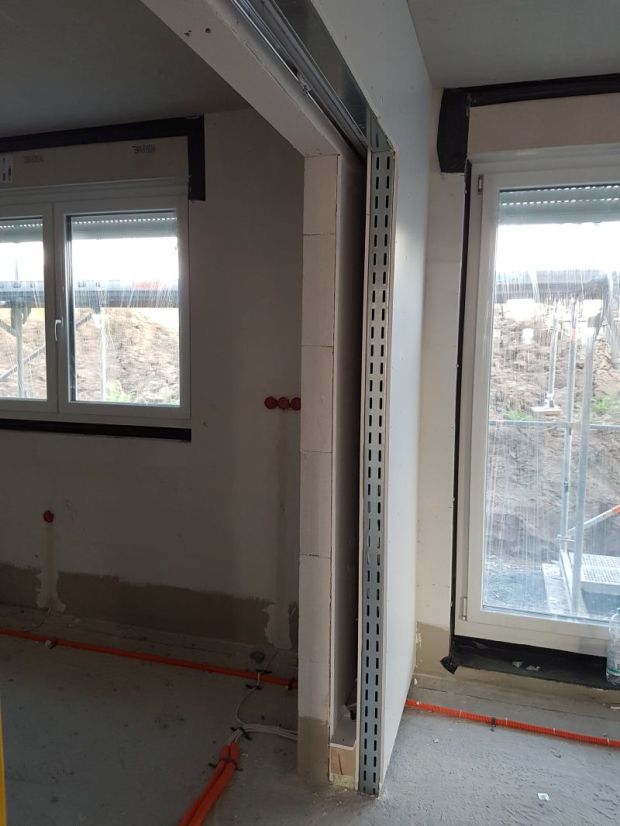
I just had a bit of freak-out moment with the installation for the vanity (pictured below). If you recall from my post about the bathroom, I have my own tiling plan for this area and I need the wall installation to recede a bit from the casing for the exhaust pipes. In the drawing, they have it leveled with the vanity panel wall, as in the original rendering of the bathroom.

Anyway, it’s good that we managed to communicate this before they’d walled this up. Engineer just checked if this could be done because there’s really not much space on the wall next to the window. But he confirmed that it’s machbar, so now I’m happy![]()
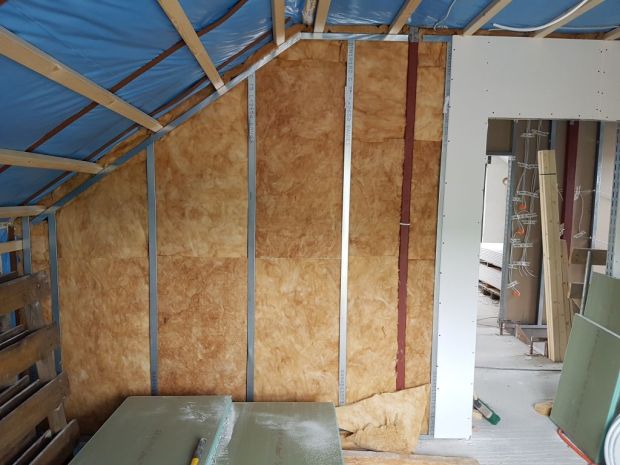
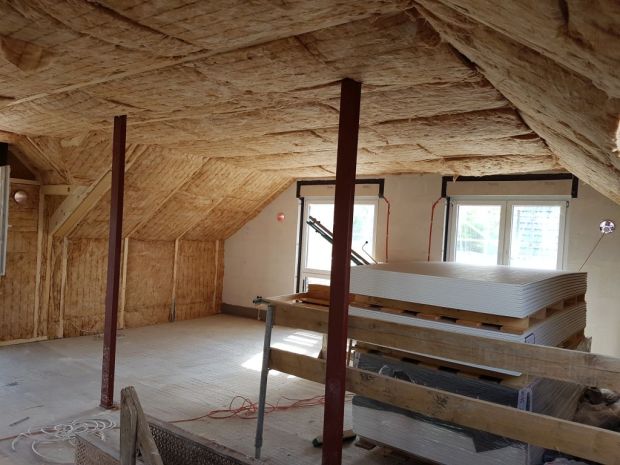
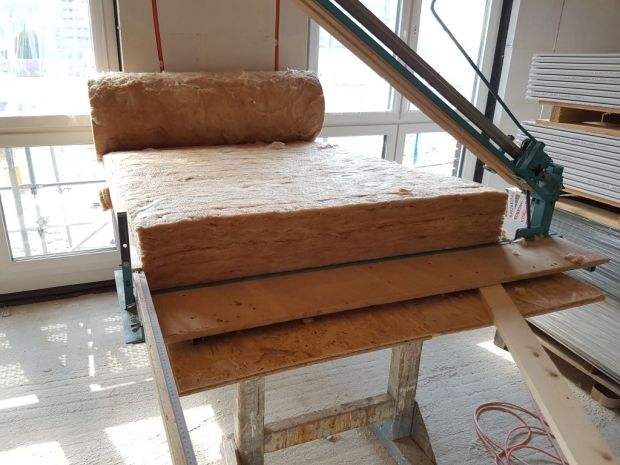
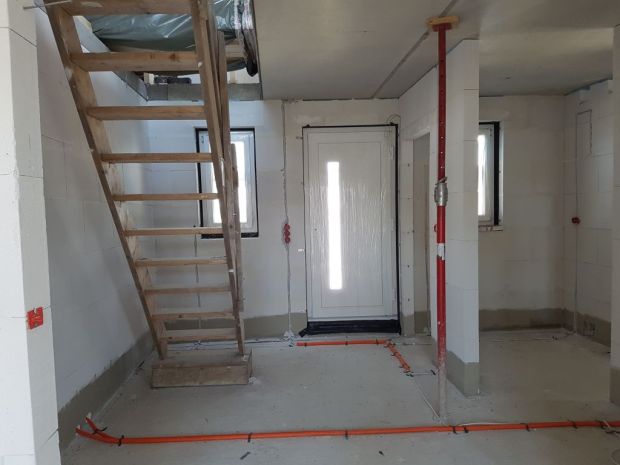
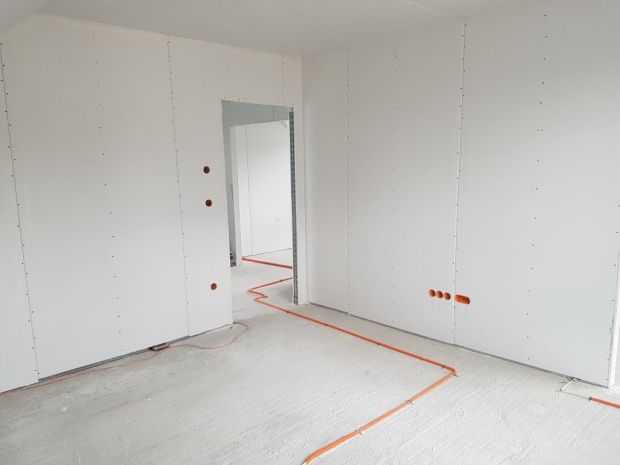
As for the other rooms, you’ll see here (guestroom) that they had the metal frames stuffed with insulation, which I think is also partly for sound absorption. We worried at first, since the walls are not solid concrete, that we’ll hear through the walls but obviously they’ve already considered that. Sound absorbers/insulation will also be laid on the the floors.

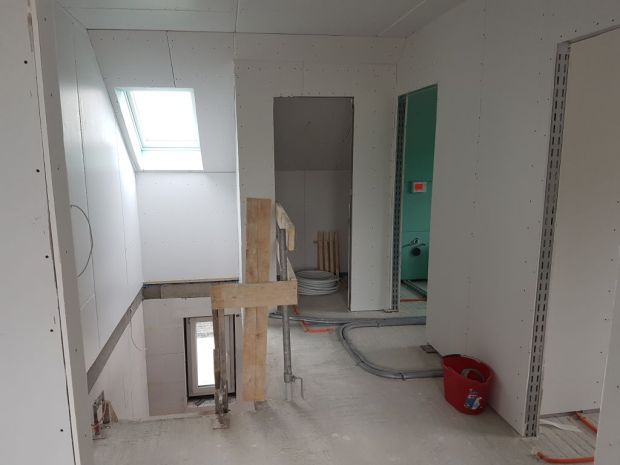
After which they had been boarded up. I think this is pretty much it for the walls upstairs. They just need to seal and smooth the seams and they should be ready for priming and painting.
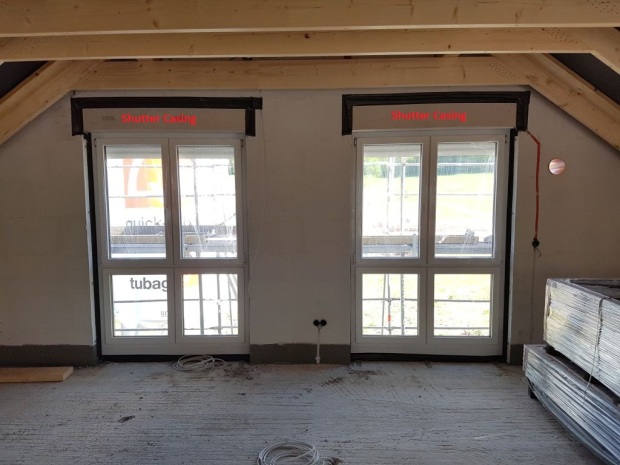
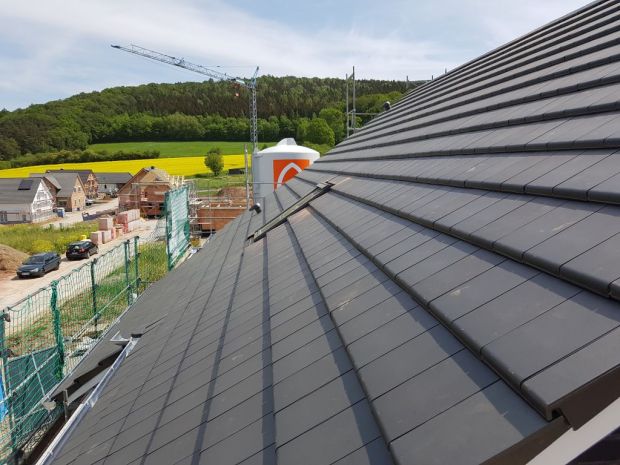
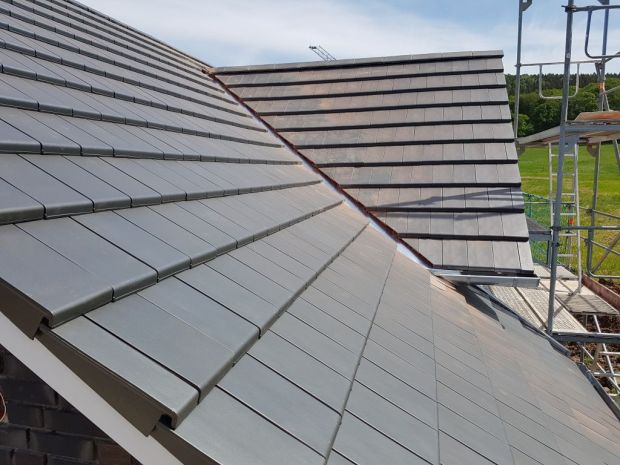
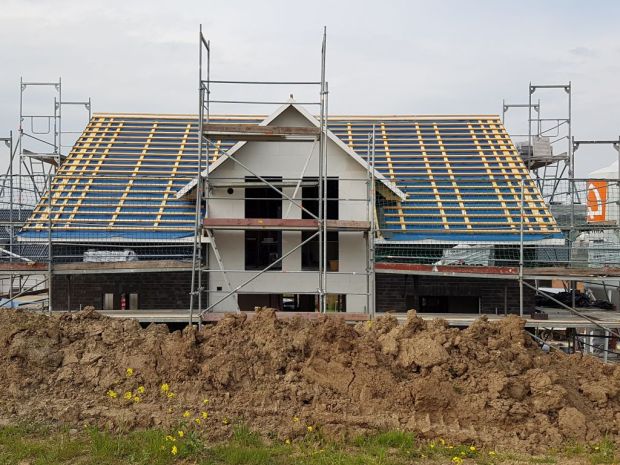
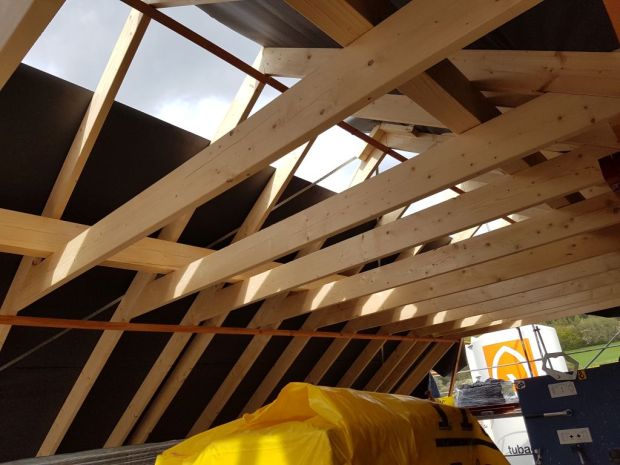
Just this one here is a bit of an irritation for me – the skylight not being centered. I already noted this before in the plan and discussed it with the Engineer before the roofing began. But he said, “no can do”. It has something to do with the spacing of the rafters. But if I insist, it would cost me an arm. And as you know, I easily scare when one talks to me of damages. At any rate, I’m happy that we decided to add this. It really brings a lot of Helligkeit into the room, though it would be quite tricky to clean.![]()

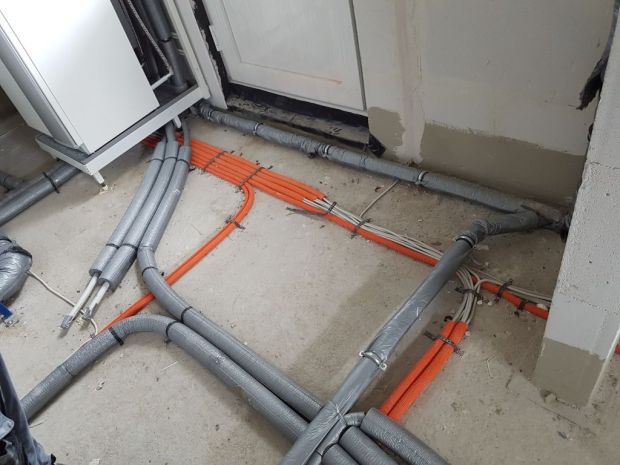
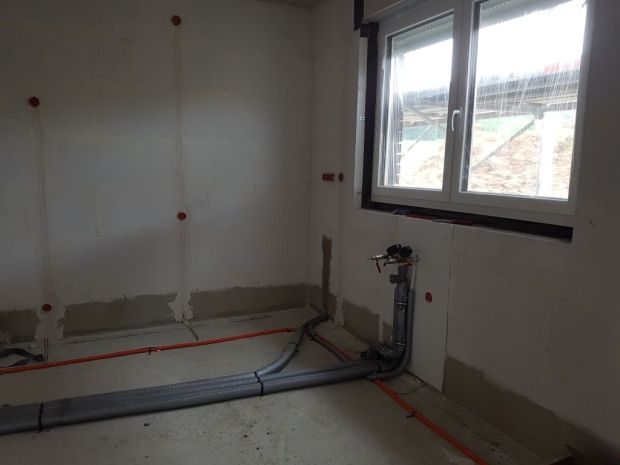
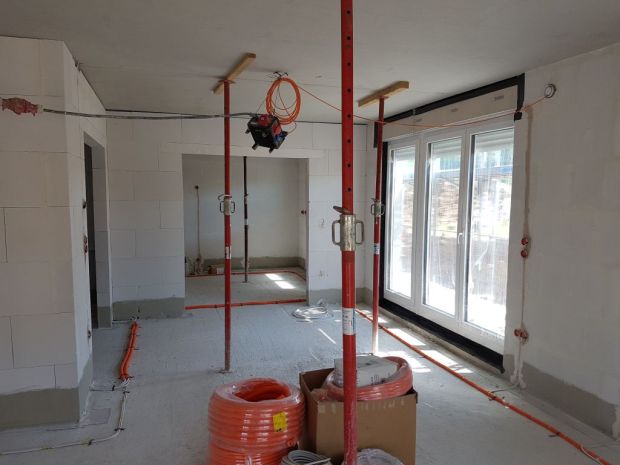
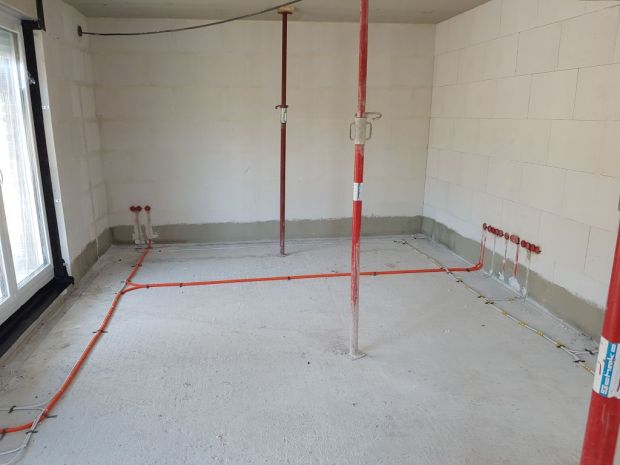
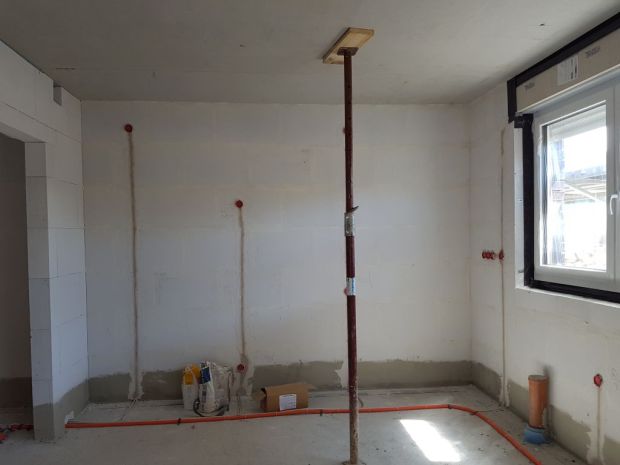
Laying of Pipes
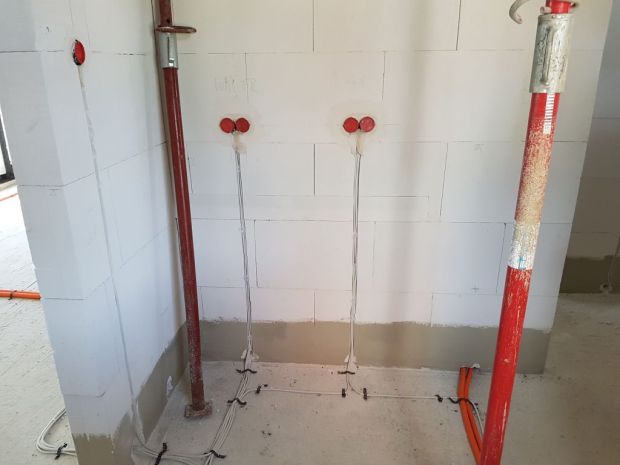
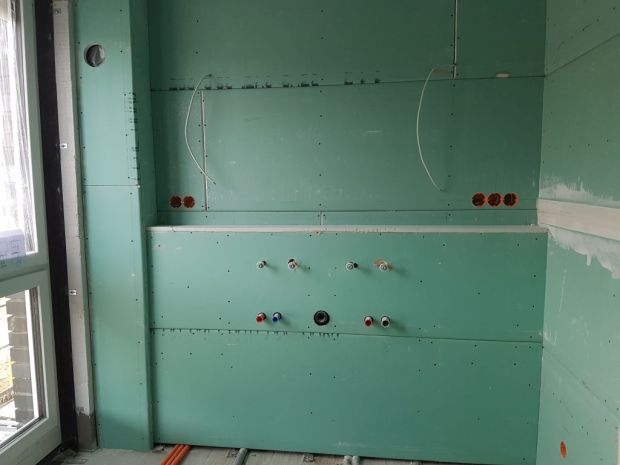
Apart from the wall-panel installations in the bathrooms, the Installateurs had also laid the pipes for water/wastewater (here in gray foam covering).

You’ll notice here that not all water pipes are wall-mounted, like this one here for the kitchen sink. I think all pipes that could be concealed behind cabinetry are made so. The pipes in the bathrooms, however, are all flush-mounted.

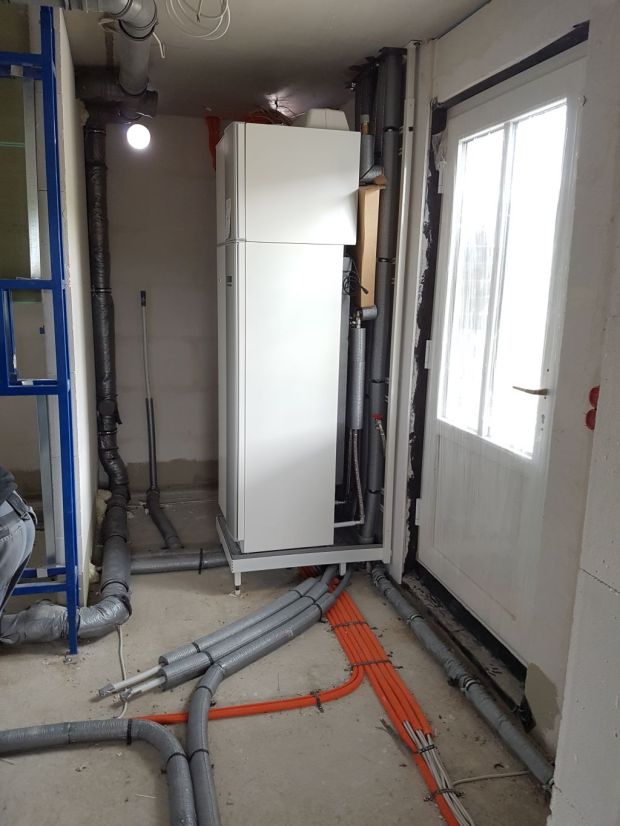
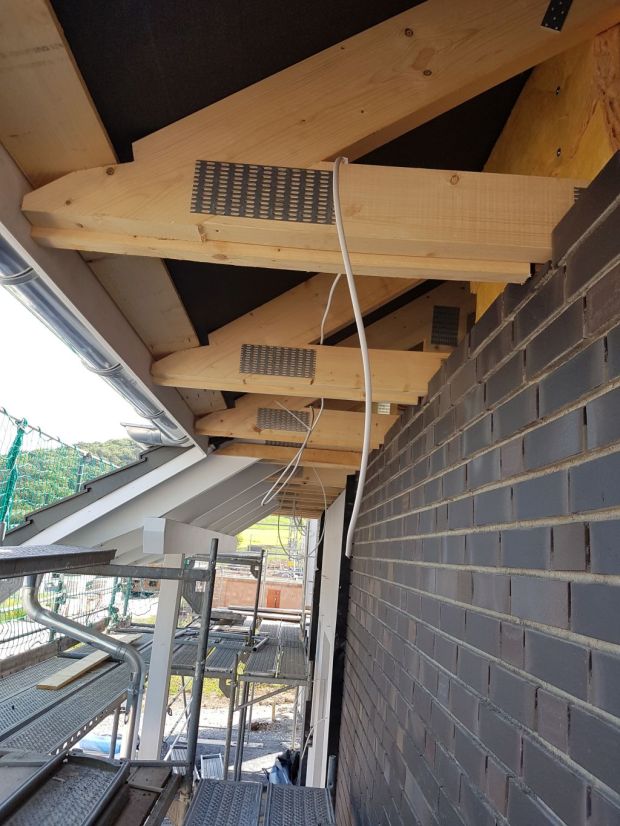
Exhaust pipes had also been configured here on the ceiling (of the utility room). Unfortunately, these are going to be exposed. I wish they could be prettier but these are what they have. It’s good however that these are confined to the utility room!
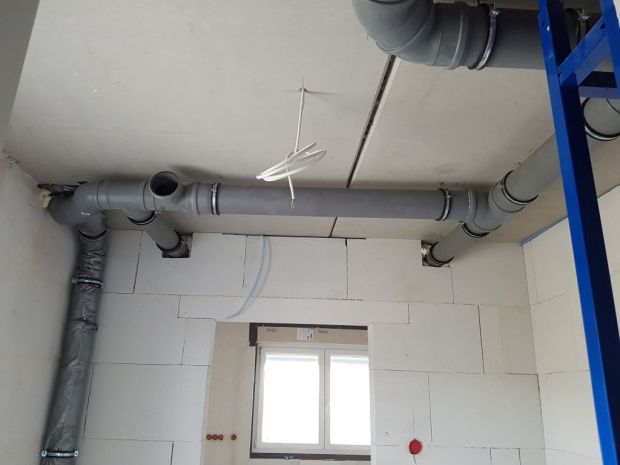
All these pipes, both for water and exhaust air, are integrated in the house’s heating system. This fridge-looking box here is the heart of this heating system and partly also the ventilation system, which I’ll talk about in another post.

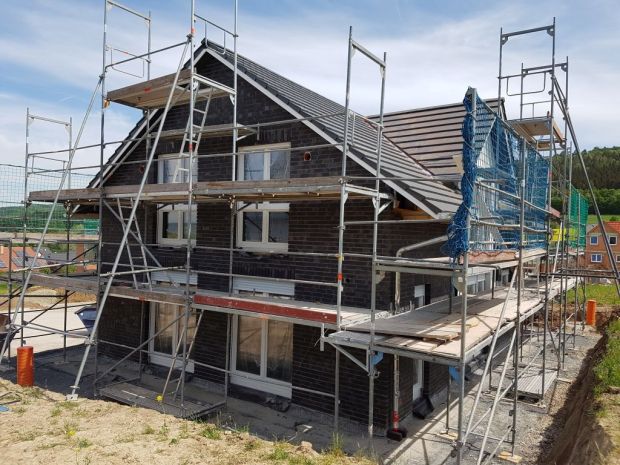
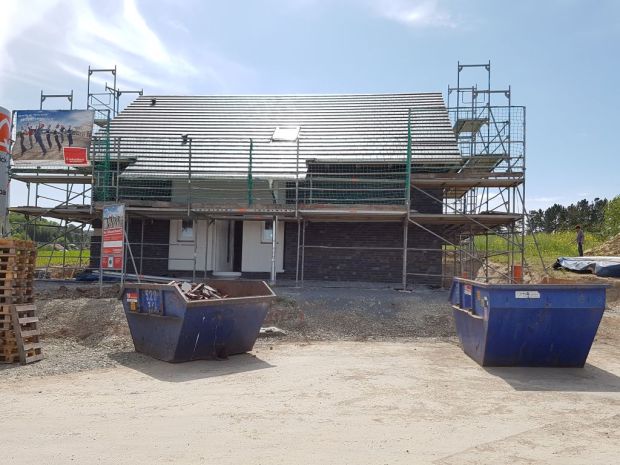
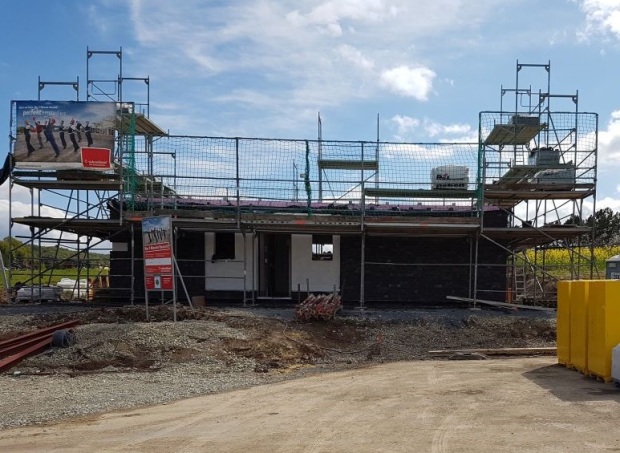
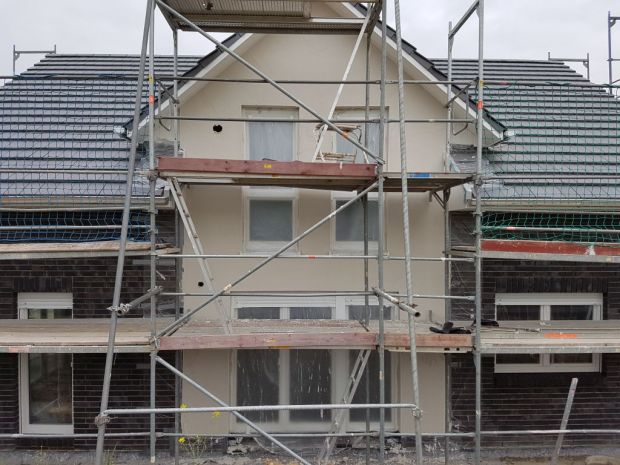
Exterior Wall Rendering
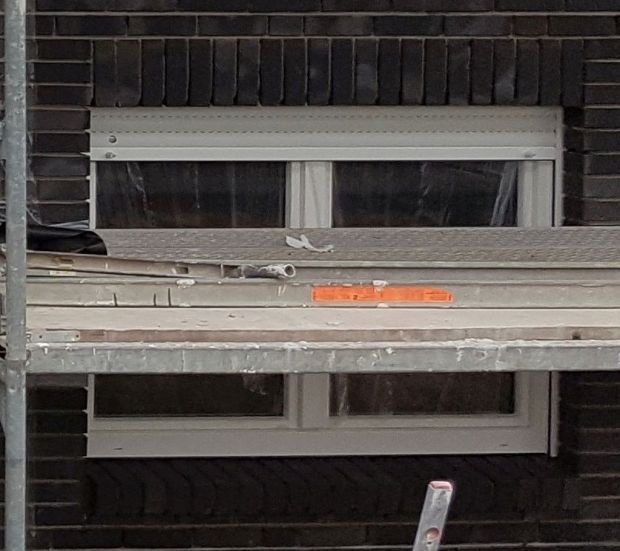
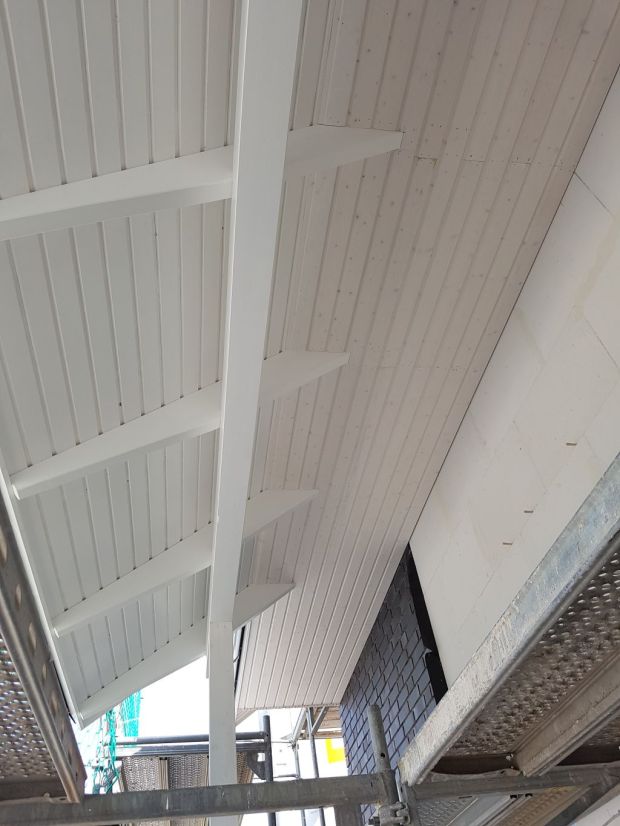
Lastly the white stripes (non-bricked exterior walls) in the back and front of the house had just been rendered. Here’s the one in the back. We thought they won’t be painted over until next week but we were there yesterday and it looked like they already did. Unfortunately I don’t have a photo of painted facade, but it’s very similar to this…just whiter.
The masons were also back for a day to do the rowlock sills. It’s the bricking of the exterior window sills as in photo below. Sorry I don’t have a proper photo. This is just cropped from photo above.

So that was it! Next week will be the wall finishing on the ground floor. Installateurs will also be back to start work on the floor for the laying of the radiant heating pipes. So until next week guys!